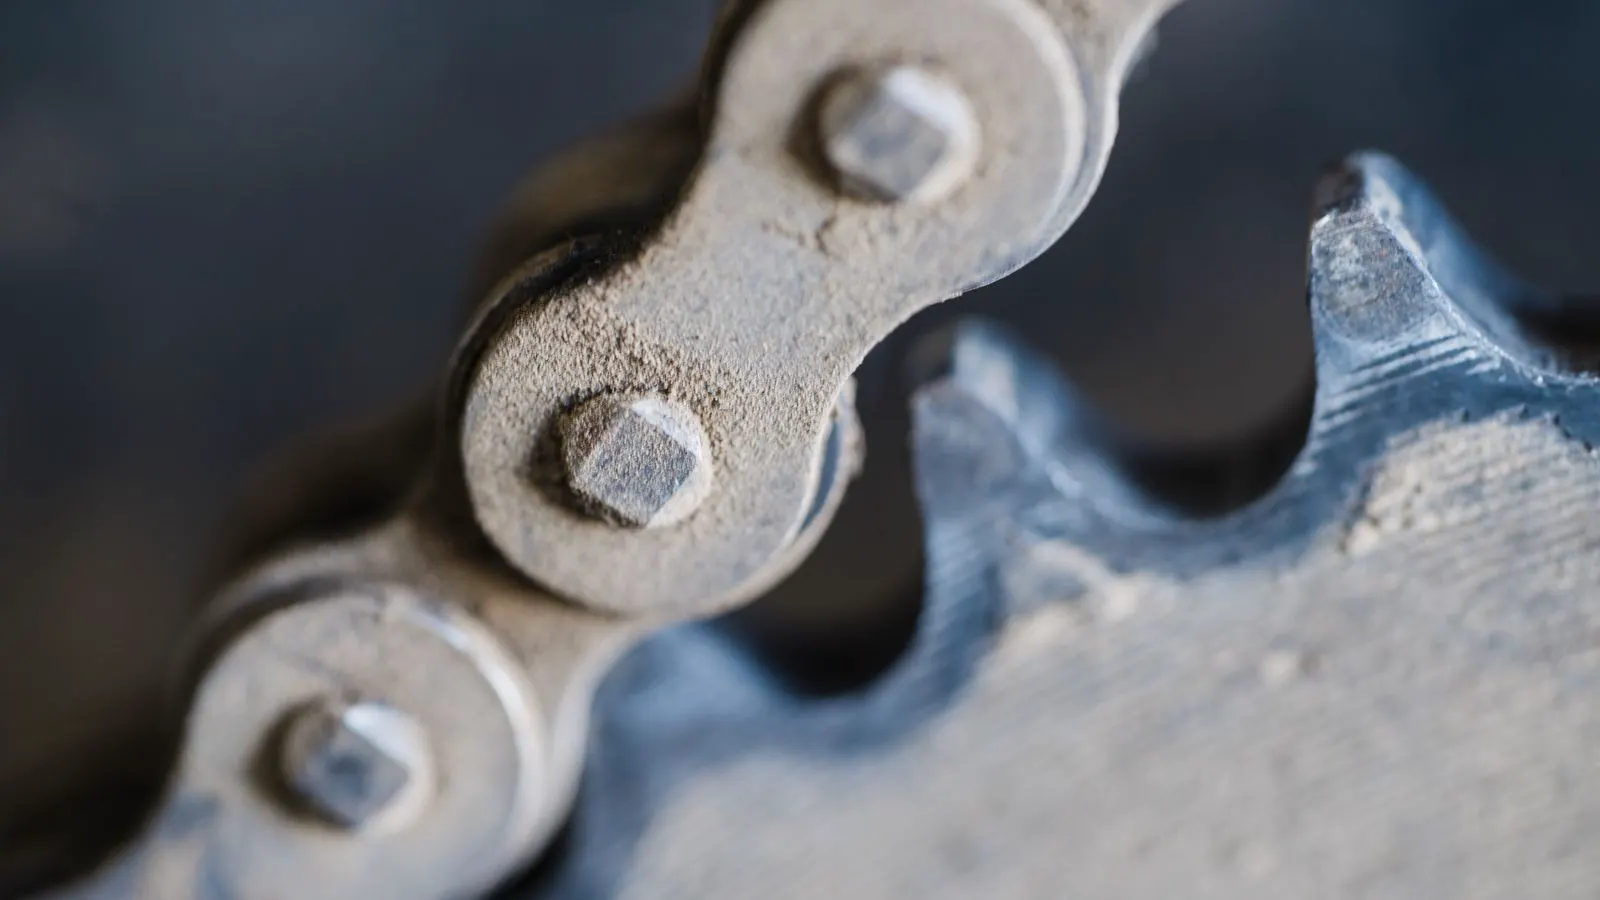
How to Reduce Noise in Parallel Shaft Gearboxes

To lower parallel shaft gearbox noise, check mounting and alignment first. Then address gear meshing noise through lubrication, bearing maintenance, and acoustic dampening. Use vibration control methods to isolate sound and protect equipment.
- Check alignment and mounting before adding sound dampening.
- Proper lubrication reduces gear meshing noise and heat.
- Vibration control isolates sound and protects adjacent equipment.
- Acoustic dampening handles residual noise after mechanical fixes.
- Verify noise levels with a consistent measurement method.
Why parallel shaft gearbox noise needs a systematic approach
Parallel shaft gearbox noise is rarely a single problem. It usually comes from multiple sources working together. The gears make a base tone. Bearings add a higher frequency hum. The housing transfers vibration to the frame. The frame radiates sound into the plant.
Maintenance engineers often react to the loudest complaint. That approach misses the root cause. If the alignment is off, adding sound dampening will not fix the problem. The vibration will keep building. The gears will wear faster. The noise will return in a worse form.
The goal is to reduce the mechanical energy that becomes sound. You fix the source first. Then you manage what remains. This guide walks through the steps in the order they should happen.
Prerequisites before starting noise reduction work
Before you touch the gearbox, gather a few things. A calibrated sound level meter is the minimum. A vibration meter helps, but a sound level meter is the direct measure of what operators hear.
You also need the gearbox service history. Check when the last oil change happened. Note any previous bearing replacements. Look for records of alignment work. These documents tell you what has already been tried.
Access to the gearbox is the third prerequisite. You need to open the housing or at least access the inspection ports. Some noise sources are hidden inside. You cannot fix what you cannot see.
Finally, confirm the operating conditions. Is the gearbox running at full load? Is the speed constant? Note the ambient temperature. These factors change how you measure and how you interpret the results.
Step 1: Check alignment and mounting
Misalignment is the most common cause of elevated noise in parallel shaft gearboxes. The input and output shafts must be in the correct relationship. If they are off, the gears hit each other at wrong angles. That creates impact noise and high vibration.
Use a dial indicator or laser alignment tool. Check the shafts at multiple points around the rotation. Record the readings. Compare them against the manufacturer’s tolerance range. If the values are outside that range, correct the alignment.
Mounting bolts are the next check. Loose bolts allow the housing to shift slightly under load. That shifts the gear mesh. Tighten the bolts to spec. Replace any that are stretched or corroded.
Reason: Alignment and mounting remove the impact component of the noise. Without this step, later measures are wasted.
Step 2: Inspect bearings and shafts
Bearing noise often masks gear noise. A worn bearing makes a grinding or rumbling sound. It usually gets worse as speed increases. Listen with a stethoscope or hold a metal rod to the housing and press the other end to your ear.
Check for play. Grasp the housing and try to move the shafts by hand. Any noticeable looseness indicates bearing wear. If the bearings are in bad shape, replace them. Do not just grease and hope.
Also inspect the shafts for scoring or pitting. A damaged shaft surface changes the contact pattern with the gears. That adds noise. If the shaft is damaged, it needs machining or replacement.
Reason: Bearings and shafts are the secondary sources of vibration. Fixing them reduces the load on the gear mesh.
Step 3: Optimize lubrication
Lubrication does two things. It reduces friction and it damps vibration. The oil film between teeth separates the metal surfaces. It also absorbs some of the shock energy from each mesh.
Check the oil level. Low oil means the teeth are not fully separated. High oil can cause churning and heat. Both increase noise. Bring the level to the mark.
Check the oil condition. Dark, gritty oil means contaminants are present. Those particles act like abrasives. They create micro-impacts during meshing. Change the oil and filter if the condition is poor.
Verify the viscosity. The oil must match the operating temperature and load. Too thin, and the film breaks down. Too thick, and it traps heat. Use the viscosity chart from the gear or oil manufacturer.
Reason: Proper lubrication is the single most effective way to reduce gear meshing noise. It also extends life.
Step 4: Inspect the gear teeth
Gear meshing noise comes from the teeth. Look for pitting, spalling, or chipping. These defects change the load distribution. Each tooth contact becomes an impact. The sound is sharp and repetitive.
Check the tooth profile too. If the teeth are worn unevenly, the contact pattern shifts. That creates a modulated noise. You may hear a whine that changes pitch.
In some cases, a small amount of wear is normal. But if the wear is beyond the manufacturer’s limit, the gears need replacement. Do not try to run with damaged teeth. The noise will keep growing. The damage will spread.
Reason: Gear tooth condition sets the baseline for meshing noise. No lubrication can fully compensate for physical damage.
Step 5: Add vibration control to the mount
Even a well-maintained gearbox vibrates. That vibration travels through the foundation. The floor or structure becomes a sound source. Vibration control stops that path.
Mount the gearbox on isolation pads or springs. The goal is to decouple the machine from the structure. Choose the isolation method based on the dominant frequency. If the vibration is low frequency, a spring mount works well. If it is higher, a rubber pad may be better.
Check the mount for damage. Cracked rubber or collapsed springs lose their function. They no longer isolate vibration. Replace them.
Reason: Vibration control stops the gearbox from turning the structure into a loudspeaker. It also reduces fatigue on nearby components.
Step 6: Apply acoustic dampening to the housing
After mechanical fixes, some noise remains. Acoustic dampening handles that residual sound. It works by absorbing the vibration inside the housing before it radiates out.
Use a damping material that is rated for the temperature range. Apply it to the outer surface of the housing. Avoid the gear case if you do not need to open it for service. A thin layer of damping sheet or compound is usually enough.
Seal the gaps. Check the cover bolts. Add gaskets where air can escape. Sound escapes through gaps. Sealing them forces the noise to dissipate inside the housing.
Reason: Acoustic dampening is a secondary measure. It reduces the final sound level without changing the mechanical operation.
Step 7: Verify the noise reduction with a consistent method
Measure the noise level after each step. Use the same meter, the same distance, and the same time of day. Record the readings in a log.
Stand at a fixed point, usually one meter from the gearbox. Measure at the same height. Note the ambient sound so you can subtract it.
Compare the final reading to the baseline. If the noise is still above the target, revisit the earlier steps. Do not assume the last step fixed it. The problem may be upstream.
Reason: Verification confirms the work. It also creates a record for future maintenance.
Common mistakes to avoid
The first mistake is skipping alignment. Many teams jump to lubrication or dampening. That misses the impact source. The noise may drop slightly, but it returns.
The second mistake is using the wrong oil viscosity. Too thick oil causes churning and heat. Too thin oil breaks the film. Both increase noise. Always check the chart for the operating conditions.
The third mistake is ignoring bearing wear. A bad bearing can make more noise than the gears. If you only treat the mesh, the bearing will fail soon.
The fourth mistake is not measuring. Without a baseline, you do not know if the work helped. You are guessing.
Final verification step
After all steps are complete, run the gearbox for a full operating cycle. Do not just check it at idle. Let it reach full speed and load.
Measure the noise at the fixed point. Compare it to the baseline. If the reduction is consistent, the work is done. If not, go back and check alignment, bearings, and lubrication again.
Document the final noise level in the maintenance record. Note what you changed. This helps the next technician understand the history.
A well-maintained parallel shaft gearbox should run quietly. If it is loud, something is wrong. Fix the source first. Then manage what remains.
Quick reference table
| Noise source | Typical sound | Primary fix |
|---|---|---|
| Misalignment | Rhythmic clunking, high vibration | Correct shaft alignment, tighten mounts |
| Worn bearings | Grinding, rumble that rises with speed | Replace bearings, check shafts |
| Poor lubrication | Whine, increased heat | Change oil, check viscosity and level |
| Damaged gears | Sharp impact, modulated whine | Replace or re-machine gear teeth |
| Structure resonance | Low hum, floor vibration | Add vibration isolation pads |
| Housing radiation | Broad band noise | Apply acoustic dampening, seal gaps |
The table shows how each source presents itself. Match what you hear to the table. That tells you where to start.
Frequently asked questions
What is the most effective single step to reduce parallel shaft gearbox noise?
Proper lubrication with the correct viscosity is the most effective single step. It reduces gear meshing noise and heat at the same time.
Can sound dampening alone fix a loud gearbox?
No. Dampening reduces the final radiated sound, but it does not fix the mechanical source. If alignment or bearings are bad, the noise will return.
How often should I check alignment on a parallel shaft gearbox?
Check alignment during major maintenance or if you notice a change in noise or vibration. Do not rely on a fixed schedule alone.
What is the best way to measure gearbox noise?
Use a calibrated sound level meter at a fixed distance and height. Record the baseline before any work and compare it after.
Does vibration control always work?
Vibration control isolates the machine from the structure, but it must be matched to the dominant frequency. If the frequency is too high, standard pads may not be enough.