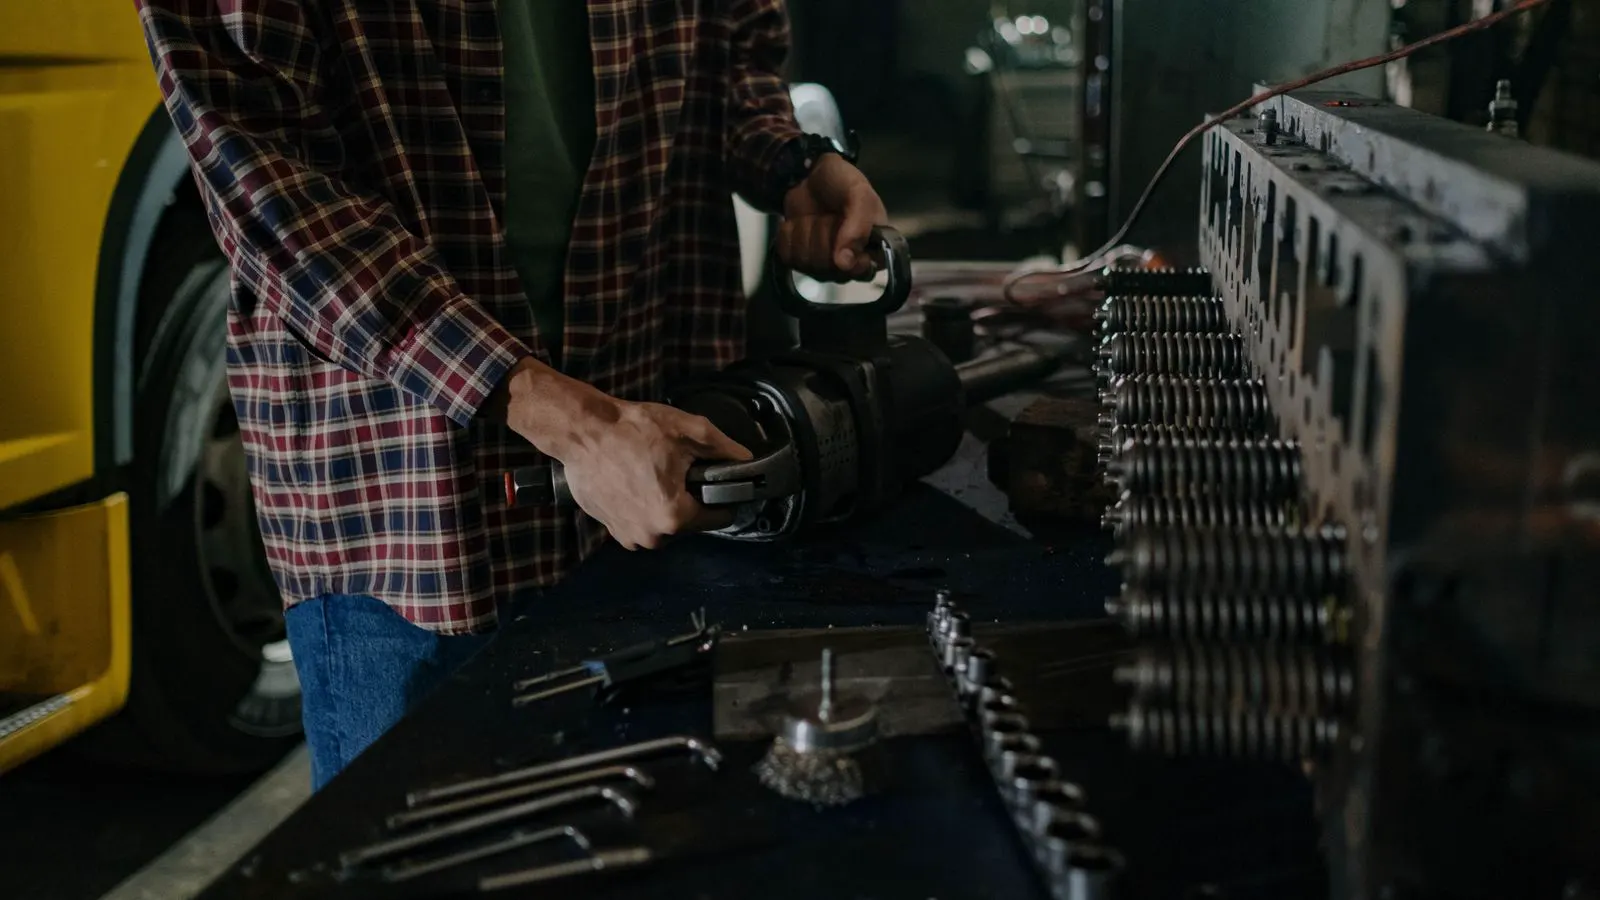
How to Change Grease in Sealed Speed Reducers

The seal grease change procedure for sealed speed reducers involves draining old lubricant, cleaning ports, and filling with compatible grease. Follow these steps to extend gearbox life and prevent contamination.
- Always drain old grease before adding new to prevent mixing incompatibilities.
- Use a clean, dedicated funnel to avoid introducing moisture or dirt into sealed units.
- Check the manufacturer's grease specification sheet before starting any lubrication job.
- Verify the fill level after the unit settles to ensure proper coverage.
- Record the grease type and date for future reference in the maintenance log.
Changing grease in sealed speed reducers is a routine maintenance task that protects gear and bearing surfaces. Sealed units are designed to limit external contamination, but the internal lubricant still degrades over time. Heat, shear forces, and oxidation break down the grease, reducing its ability to protect moving parts.
Do you need the right tools before you start
Before opening a sealed reducer, gather the correct equipment. A clean funnel is the most common tool. You may also need a small brush, rags, and a compatible grease gun if the fill ports are small. Check the service manual for the specific grease type. The manufacturer’s specification sheet lists the recommended viscosity and base oil. Using the wrong grease can cause swelling, hardening, or poor gear protection.
Have a container ready for the old grease. Draining dirty lubricant is messy. A shallow tray helps contain the flow. If the unit is mounted in a production line, plan the work time. Some reducers require the output shaft to be stopped. Never run the unit during a grease change.
How do you identify the fill and drain ports
Sealed reducers usually have one or two fill ports and a corresponding drain port. The fill port is often on the housing side, near the center. The drain port is typically at the lowest point of the housing. Look for hex plugs or domed caps. Do not confuse the fill port with a pressure relief valve. The fill port is designed for lubricant. The drain port is for removing old grease.
If the unit has multiple housings, such as a two-stage or three-stage reducer, each stage may have its own ports. Check the nameplate and service manual. Some units share a common drain. Others have individual drains for each stage. Marking the ports with tape before starting prevents confusion.
What is the correct sequence for draining old grease
Start by ensuring the unit is cool. Hot grease flows faster and can splash. Let the reducer sit for a few hours after operation. Loosen the drain plug carefully. Place the tray underneath. Allow the old grease to flow out completely. For two-stage units, drain the lower stage first. Then drain the upper stage.
If the grease is thick or solidified, it may not drain easily. You can gently tap the housing to break it loose. Do not use a drill or heat gun. Excessive heat can damage the seal and the internal gears. In some cases, you may need to remove the fill cap to allow air to enter. This helps the grease flow.
How do you clean the port area before refilling
Old grease often carries metal particles, moisture, and dirt. Wipe the area around the drain and fill ports with a clean rag. Use a small brush to remove debris from the threads. Do not blow air into the ports. Compressed air can force contaminants deeper into the housing.
Inspect the seal condition. If the drain or fill plug shows signs of damage, replace it. A worn seal allows moisture to enter during future operations. This leads to corrosion and grease breakdown. Clean the funnel and grease gun. Even a drop of water in the new grease can cause problems.
What grease should you use for the refill
Match the new grease to the manufacturer’s specification. Common types for sealed reducers include lithium complex and polyurea greases. The viscosity grade matters. A grease that is too soft may wash out under load. A grease that is too hard may not reach the gear teeth. Check the operating temperature range of your unit. High-temperature applications often require synthetic base oils.
Avoid mixing grease types. Different base oils can react and form gels or solids. This clogs the internal passages. If you are unsure about compatibility, use a new, clean container. Do not top up old grease with a different brand.
How do you fill the reducer correctly
Use the fill port to add the new grease. Insert a clean funnel into the port. Squeeze the grease gun slowly. Fill the unit to the recommended level. Many sealed reducers are filled by volume. The service manual gives the exact amount in grams or milliliters. If the manual is missing, fill until grease oozes slightly from the drain port. This indicates the housing is full.
Do not overfill. Excess grease increases torque and heat. It can force the grease out of the seals. The seals are not designed to handle continuous grease leakage. Fill to the specified level and stop.
How do you verify the grease level and seal integrity
After filling, replace the fill and drain plugs. Torque them to the manufacturer’s specification. Run the unit at no load for a short period. This allows the grease to distribute. Stop the unit and check for leaks. Look around the fill port and the seal interfaces. A small amount of grease on the outside is normal. Continuous leakage is not.
Wait for the unit to settle. Some units may lose a small amount of grease as the internal pressure equalizes. Check the fill port again. If the level is low, add a small amount. Record the grease type, quantity, and date in the maintenance log.
Common mistakes that damage sealed reducers
Using the wrong grease is the most common error. It leads to hardening or softening of the lubricant. Draining only part of the old grease leaves contaminants in the housing. Cleaning the ports with a dirty rag introduces debris. Overfilling forces grease out of the seals. Ignoring the service manual and guessing the fill level causes under- or over-lubrication.
Another mistake is mixing grease types. This creates a gel that blocks the internal passages. Always use a dedicated funnel. Never share a funnel between different grease types.
How often should you change the grease
The interval depends on operating conditions. Heavy load, high temperature, and dust exposure require more frequent changes. Light duty units in clean environments can run longer. Check the service manual for the recommended interval. If the unit has been in service for many years, inspect the grease condition at each interval. If it is discolored or solid, change it even if the time limit has not arrived.
Verification after the grease change
A final check ensures the job is done right. Confirm the unit runs smoothly. Listen for unusual noise. Check for vibration. Verify the fill and drain plugs are tight. The unit should run quiet and cool. If you hear grinding or feel heat, stop the unit and re-check the lubrication. A proper grease change procedure protects the internal components and extends the service life of the reducer.
Lubricant Compatibility and Temperature
The choice of grease is tied to the operating environment. High-temperature reducers require synthetic base oils. They resist oxidation and shear. Low-temperature reducers need greases that stay soft in the cold. A grease that hardens in winter can cause startup damage. Check the buyer’s guide for lubricant compatibility to ensure you select the right base oil for your specific duty cycle.
Grease Contamination and Hardening
Contamination is a silent killer. Water and dust enter through worn seals. Grease hardening in low-temperature units is a separate issue. It changes the viscosity and prevents proper lubrication. Both problems stem from neglecting the seal grease change procedure. Regular maintenance keeps the internal environment clean.
Summary of the Process
- Stop the unit and let it cool.
- Locate and mark the fill and drain ports.
- Drain the old grease completely.
- Clean the port area and inspect seals.
- Select the correct grease from the service manual.
- Fill the unit to the recommended level.
- Replace plugs and check for leaks.
- Run the unit and verify the final grease level.
This process takes time. Rushing it invites errors. A clean, careful grease change is the best investment in your reducer.
Frequently asked questions
Can I just top up the grease without draining?
No. Old grease contains contaminants and degraded oil. Topping up with new grease mixes the two, which can cause incompatibility and reduce protection.
What if the old grease does not drain out?
Let the unit cool. Tap the housing gently. If the grease is solid, it may need to be removed through the fill port after the unit is disassembled. Do not use heat.
How do I know if the seals are damaged?
Look for visible grease leakage outside the housing. Check for moisture or corrosion around the fill and drain ports. A worn seal allows contamination to enter.
Can I use a different type of grease than the original?
Only if the new grease matches the manufacturer's specifications. Different base oils can react and form solids. Always check the service manual.
How often do I need to change the grease?
It depends on duty cycle and temperature. Check the service manual. Inspect the grease condition at each interval and change it if it is degraded.