Troubleshooting: Grease Contamination in Lubricated Gearboxes
Grease contamination in gearboxes usually comes from water ingress, wrong grease selection, or inadequate sealing. This guide lists symptoms, likely causes, and fixes to stop lubricant failure before it damages gear teeth and bearings.
- Inspect grease color and consistency before opening the housing to catch contamination early.
- Water ingress and incorrect grease selection are the two most common contamination drivers.
- Use a structured table to match symptoms to causes and apply targeted fixes.
- Prevent future issues by verifying seals, checking filler caps, and confirming grease compatibility.
What does gearbox grease contamination look like?
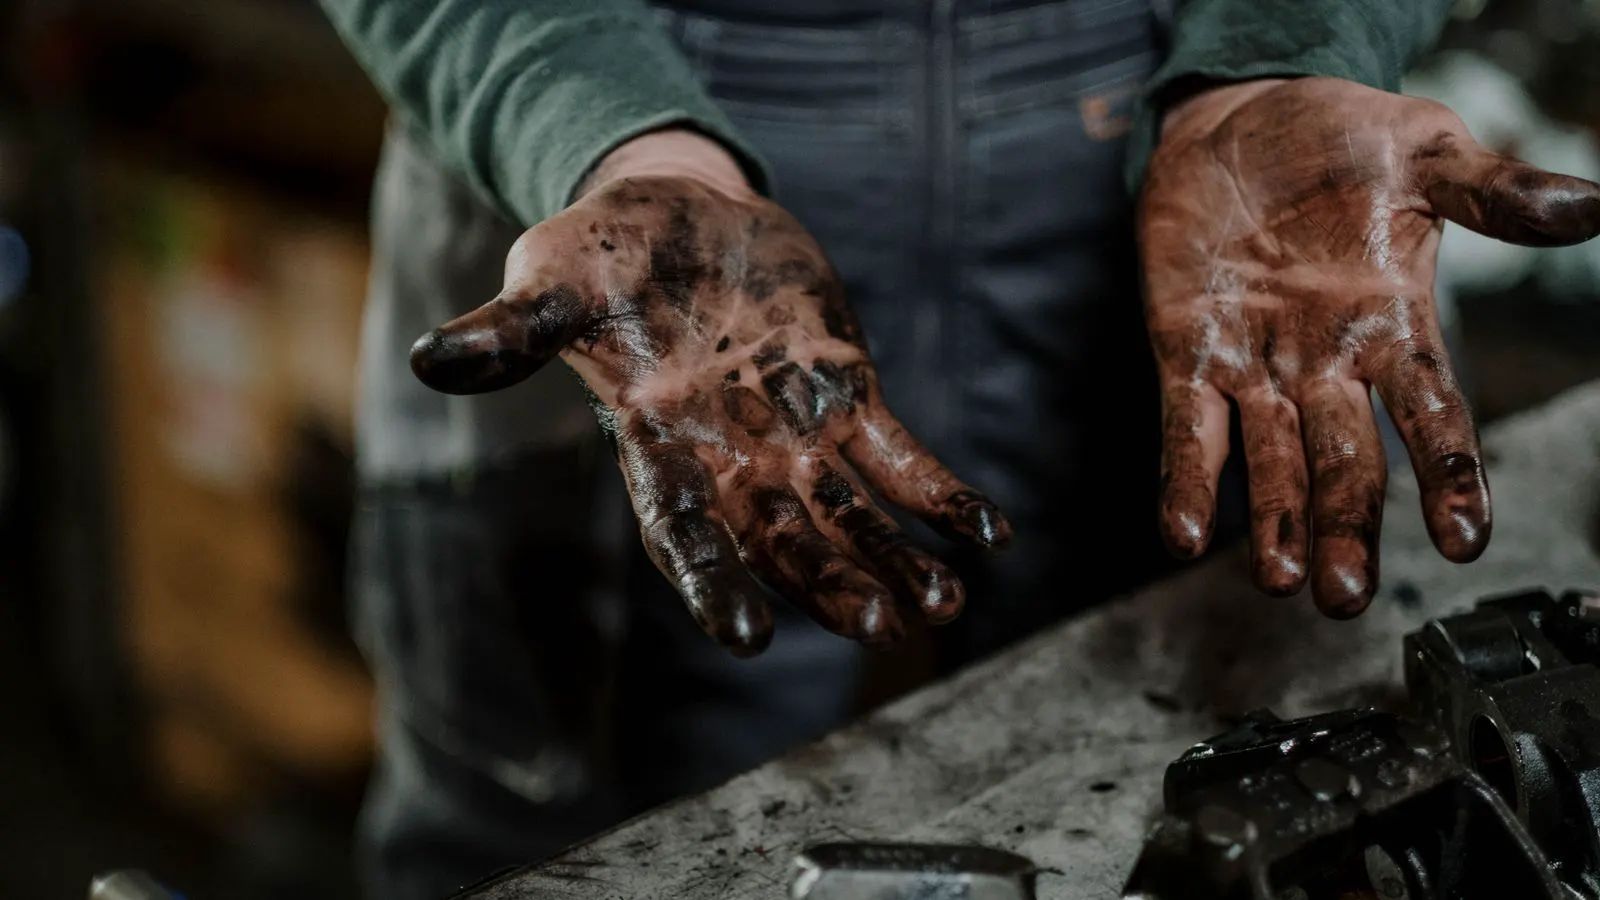
Grease contamination shows up fast when the lubricant stops doing its job. The first sign is usually visual. Grease that was once smooth and uniform starts to look grainy, watery, or streaked with black particles. A dark, milky film on the gear teeth or housing interior points to water mixing with the grease. A gritty texture indicates metal debris or abrasive dust working its way into the lubricant. When you open the housing, the color change is often the first warning. Clean grease usually holds a consistent color, matching the base oil and thickener. Dirty grease loses that consistency. It separates, clumps, or turns into a paste that does not spread evenly.
Engineers also notice mechanical changes. A gearbox that ran smoothly may start to whine, hum, or develop a grinding noise under load. Vibration increases near the output flange. Bearing temperature rises during normal operation. These symptoms often appear together. A single change can mask the underlying problem, so check the lubricant before assuming the gears are worn. The noise from a contaminated bearing is different from the noise of a worn gear tooth, but both can sound like a grinding or whining hum to an untrained ear. Temperature is a reliable indicator. If one side of the gearbox runs hotter than the other, the lubricant on that side is likely failing.
Look at the grease texture during inspection. Healthy grease should feel like a firm, smooth paste. It should hold its shape briefly when squeezed but then flow under pressure. Contaminated grease feels rough, sandy, or oily. If you pull a sample from the observation port, the sample may drip or run off the teeth immediately. This indicates the thickener has broken down. If the sample is hard and crumbly, the grease may have absorbed too much water or oxidized. Visual inspection of the gear teeth reveals the damage caused by the lubricant failure. Gears with a shiny, polished surface are suffering from boundary lubrication, where the oil film is too thin. Gears with pitting or spalling show that the grease has not protected the surface from metal-to-metal contact.
What are the most common causes of grease contamination?
Water is the most frequent contaminant. Gearboxes operate in wet or dusty environments, and even small leaks at the shaft seals or filler caps allow moisture into the lubricant. Water breaks the grease emulsion. It washes out oil, leaving a thin, ineffective film on gear teeth. In cold climates, water can freeze inside the housing. This freezes the gears and bearings, causing damage during startup. In hot climates, water promotes oxidation and microbial growth. Bacteria can feed on the organic components of the grease, creating acid that attacks the metal surfaces.
Wrong grease selection is the second common cause. Grease that is too soft for the operating temperature melts and washes away. Grease that is too stiff cannot circulate and leaves dry spots. In both cases, the lubricant fails to protect. Compatibility matters. A grease that works in a low-speed housing may fail in a high-temperature reducer. The viscosity index of the base oil determines how well the grease holds its viscosity across temperature swings. If the base oil is too thin, it drains off the teeth under load. If it is too thick, it creates drag and heat. The thickener type also matters. Lithium soaps are common general purpose thickeners, but they have limits. If the gearbox operates in a high-speed environment, a synthetic grease with a different thickener may be required.
Metal debris from worn gears or bearings is a third cause. Once a tooth starts to spall, fragments enter the grease and act as abrasives. The grease becomes a slurry of particles that accelerates wear. This is a feedback loop. The lubricant degrades, the wear increases, and the contamination spreads. Small particles, even less than a millimeter, can score the bearing raceways. Once the raceways are scored, the bearing will fail regardless of the grease quality. The particles act as an abrasive belt, grinding down the metal surfaces.
Dust and dirt entering through inadequate sealing is the fourth cause. Industrial gearboxes often sit in environments with fine particulate. If the filler cap or observation port is not sealed properly, dust mixes with the grease during temperature cycles. As the gearbox heats up, the internal air expands and pushes out. As it cools, the air contracts and draws dust in. This breathing effect is constant. Without a filter or a properly sealed cap, the gearbox will slowly fill with abrasive material.
How to diagnose contamination by symptom
Use the table below to match what you see or hear to the most likely cause. This is not a substitute for a full teardown. It is a starting point that narrows the search before you open the housing.
| Symptom | Likely cause | What to do |
|---|---|---|
| Grease looks watery or milky | Water ingress from seal or cap leak | Inspect shaft seals and filler caps. Dry the housing. Replace damaged seals. |
| Grease is gritty or contains metal flakes | Worn gears or bearings releasing debris | Inspect gear teeth and bearings. Replace worn components before re-greasing. |
| Grease is very thin and runs off teeth | Grease too soft for operating temperature | Switch to a higher stiffness or higher temperature grade grease. |
| Grease is stiff and will not circulate | Grease too stiff for low temperature or low speed | Switch to a lower stiffness or lower temperature grade grease. |
| Black streaks on gear teeth | Oxidation or combustion byproducts | Check for overheating. Verify load and speed are within rated limits. |
| Dust mixed into grease | Inadequate sealing at filler cap or observation port | Clean the housing. Replace or reseal the filler cap. |
When diagnosing, take a sample of the grease from the lowest point of the housing. This is where the heaviest particles settle. If the sample at the bottom is black and gritty while the sample at the top is clean, the contamination is likely mechanical, coming from the gears or bearings. If the contamination is uniform throughout the housing, the cause is likely environmental, such as water or dust entering through a seal. Check the date of the last grease change. If the gearbox has not been serviced in over two years, the grease may have simply degraded. Oxidation breaks down the base oil, reducing its ability to carry away heat and debris.
Listen to the gearbox under load. A whining noise usually indicates bearing wear. A grinding noise indicates gear tooth damage. A humming noise can indicate a loose bearing or a misaligned shaft. Use a stethoscope or a mechanical vibration meter if available. Vibration levels give a quantitative measure of the damage. Compare the reading to the baseline if you have one. A significant increase in vibration at the same operating speed confirms that the internal components are degrading.
How to clean and repair a contaminated gearbox
Cleaning is not the same as re-greasing. If the lubricant is contaminated, you must remove it completely before adding fresh grease. Residual water or debris will mix with the new grease and cause the same failure. The cleaning process must be thorough. Any oil film left on the gear teeth will trap the new grease away from the contact points. Any water left in the housing will continue to break down the new grease.
Follow this sequence:
- Isolate the gearbox from the drive. Lock out power.
- Drain the old grease through the drain plug. If there is no drain plug, remove the observation port or filler cap and wipe out the remaining lubricant with a clean lint-free rag.
- Inspect the interior. Look at the gear teeth, bearing raceways, and the bottom of the housing. Note the condition.
- Wipe out the housing with a dry rag. If water is present, allow the housing to air dry or use a low-pressure dry air source.
- Replace any damaged seals, filler caps, or observation ports before re-greasing.
- Add fresh grease through the filler point. Use the quantity specified in the equipment manual. Overfilling creates pressure and forces grease out through the seals.
- Run the gearbox at no load for a short period. Check the temperature and listen for noise.
During step 3, photograph the gear teeth and bearing surfaces. This documentation helps in future maintenance. If the gear teeth show pitting, you must decide whether to replace the gears or accept the reduced service life. Pitting on the tooth flanks indicates fatigue failure. This is a sign that the lubricant was not protecting the surface for a long period. If the bearing raceways show scoring, the bearing must be replaced. You cannot re-grease a scored bearing. The grease will not fill the grooves created by the scoring, and the bearing will fail quickly.
When adding fresh grease, use a grease gun that can apply grease under pressure. Do not use a rag to stuff grease into the housing. This introduces lint and contaminants. The filler point is designed for a grease gun. If the housing is large, you may need to open a drain plug to allow air to escape while you add grease. This prevents air pockets from forming inside the housing. Air pockets can cause noise and vibration as the grease moves around them.
How to prevent grease contamination
Prevention is cheaper than repair. The best time to stop contamination is before it enters the lubricant. A clean gearbox lasts longer than a dirty one. Regular maintenance prevents the small issues that lead to catastrophic failure.
Check seals at every scheduled maintenance stop. Shaft seals wear with heat and vibration. A seal that looks intact may have a small gap that lets moisture in. Replace seals on a planned interval rather than waiting for failure. The cost of a seal is low compared to the cost of a gearbox replacement. The seal is a sacrificial component. It is designed to wear out before the gearbox does.
Verify the filler cap is sealing. A cap that does not close tightly is a direct pathway for dust and water. Many gearboxes use a simple gasket or O-ring. A damaged gasket should be replaced. Some gearboxes use a vent cap that maintains equal pressure inside and outside. This prevents the cap from being sucked in during cooling cycles. If the vent is clogged, the cap may pop off or crack.
Confirm grease compatibility. Match the grease to the operating temperature, speed, and load. A grease that is rated for low temperature may not hold together at high temperature. A grease rated for high temperature may be too stiff at low temperature. Check the equipment manual for the recommended grease type. If the manual is unavailable, consult the gearbox manufacturer. The manufacturer can provide the specific grease grade and the quantity needed. Do not guess. The wrong grease can cause immediate failure.
Inspect the environment. If the gearbox is in a wet, dusty, or corrosive environment, the seals and caps need closer attention. Consider adding a protective cover or a vent that filters air. A vent that lets air in but blocks dust is better than a sealed cap that traps moisture inside. In coastal environments, salt water can corrode the seals and the housing. A protective cover can reduce the salt exposure. In dusty environments, a filter vent can reduce the dust load.
Keep records. Note the date of the last grease change, the type of grease used, and any symptoms observed. This information helps when you need to diagnose a problem. It also shows whether the contamination happened after a specific event. For example, if the gearbox was flooded during a storm, the contamination is likely water. If the gearbox was moved, the contamination is likely dust. Records provide context. Without records, you are guessing at the cause.
When to call a professional
Some contamination issues are visible at a glance. Others are not. If the gearbox is under load and you cannot isolate it safely, do not attempt a full teardown. If the gear teeth show visible pitting or scoring, the damage may be beyond a simple re-grease. If the bearing temperature is consistently high despite clean lubricant, the bearing itself may be failing.
A professional inspection can identify issues that are not obvious from the outside. Thermal imaging can show hot spots on bearings. Vibration analysis can detect early bearing wear. A teardown allows inspection of gear teeth and internal components. The cost of a professional inspection is usually lower than the cost of a gearbox failure that stops production. Professional inspection includes checking the alignment of the gearbox and the drive. Misalignment increases the load on the gears and bearings. This increases the wear rate. A professional can measure the alignment and provide corrections. This extends the life of the gearbox and prevents future contamination.
Frequently asked questions
Can I just add more grease to fix contaminated lubricant?
No. Adding fresh grease to contaminated lubricant mixes the new grease with water or debris. You must remove the old lubricant completely before adding fresh grease.
How do I know if water has entered the gearbox?
Look for a watery or milky appearance in the grease. Check the area around the shaft seals and filler cap for drips or wetness. A milky film on gear teeth is a clear sign of water.
What happens if I ignore grease contamination?
The lubricant stops protecting the gear teeth and bearings. Wear increases. Noise and vibration grow. The gearbox may fail suddenly. Ignoring contamination turns a small maintenance task into a major repair.
How often should I check the grease?
Check at every scheduled maintenance stop. Visual inspection takes minutes. If the gearbox is in a harsh environment, check more frequently. Look for changes in color, texture, or consistency.
Can I use any grease from the hardware store?
No. The grease must match the operating temperature, speed, and load of the gearbox. A generic grease may be too soft, too stiff, or incompatible with the other lubricants already in the system. Check the equipment manual for the recommended grease.