Checklist: Verifying Lubrication Systems Before Installation
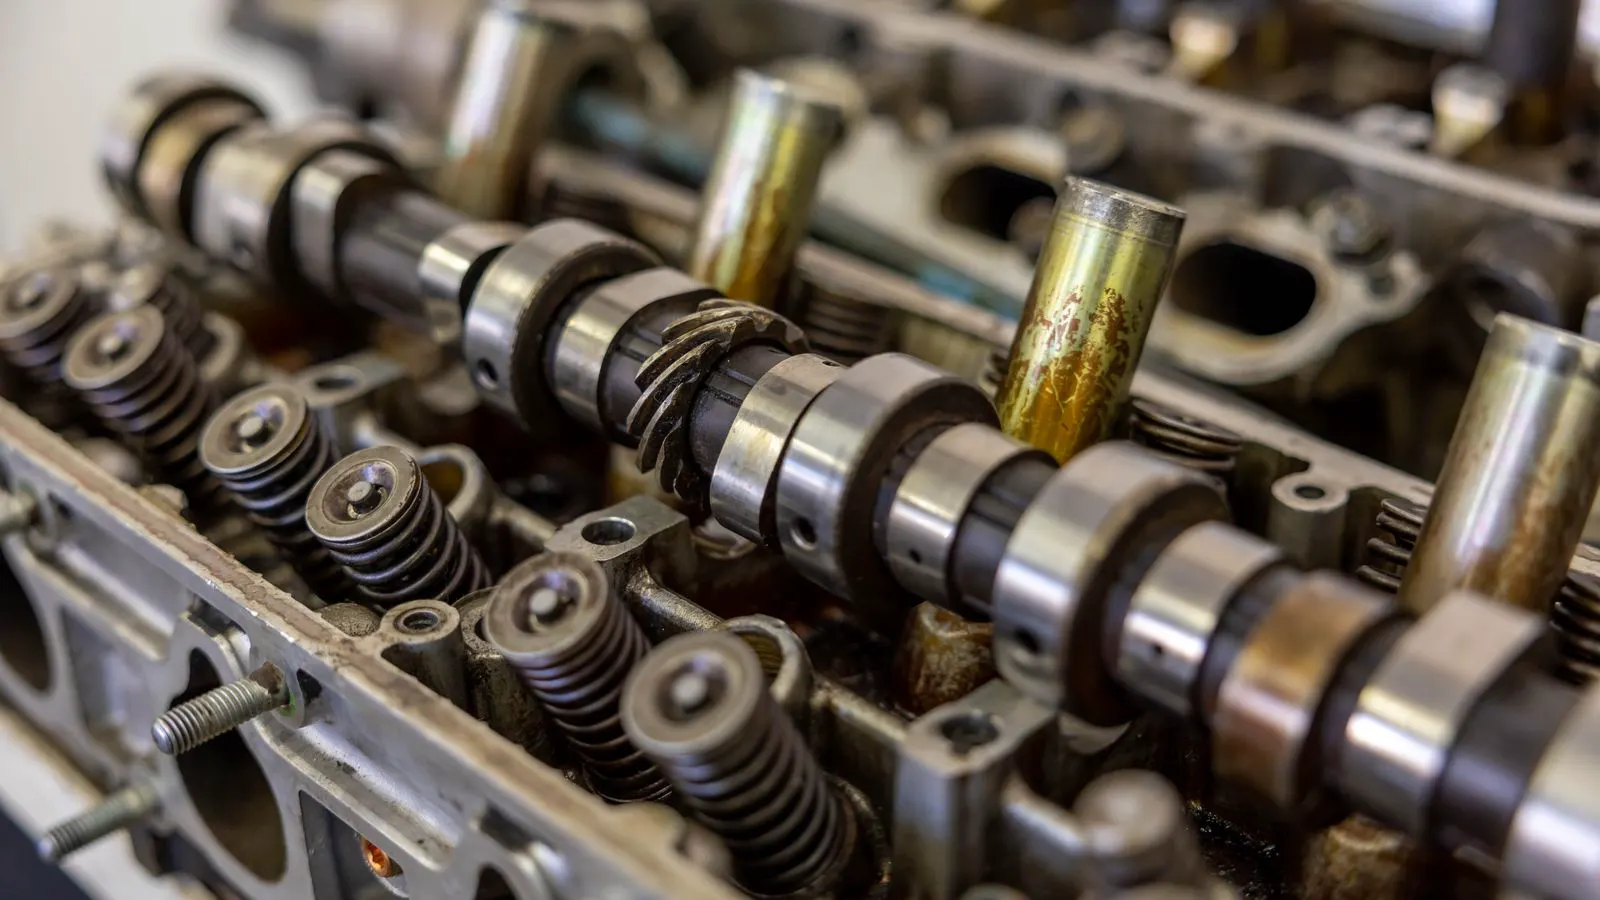
This guide provides a step-by-step system inspection checklist for verifying gearbox lubrication before installation. It covers fluid levels, seals, and component integrity to prevent leaks and ensure proper operation.
- Verify the correct oil grade and level before final mounting to avoid air pockets.
- Inspect all seals, plugs, and fittings for physical damage before torqueing.
- Check the lubrication method (gravity, forced circulation, or oil mist) against the design.
- Document initial readings to establish a baseline for future gearbox maintenance.
Why pre-installation lubrication matters
Lubrication is the first line of defense against gear wear and seal failure. A gearbox that installs with the wrong fluid or an open drain plug will leak before the first shift. This pre-installation lubrication checklist focuses on the physical system. It assumes the unit is on the floor or in the rig area, ready for mounting but not yet energized.
The goal is simple. Confirm that every part of the lubrication system is closed, sealed, and filled. This prevents oil migration during transport, avoids dry-starting the reducer, and protects the installation surface.
Fluid selection and level verification
Do not assume the oil in the sight glass is the correct grade. Verify the tag or data plate against the specification sheet. Viscosity grade affects film thickness. If the application involves high surface speeds, the oil may need to be thinner than standard industrial grades. If the unit sits idle for long periods, a thicker grade may be required to prevent seepage.
Check the oil level at the manufacturer specified height. Sight glasses show level, but they also show condition. Look for free water, metal flakes, or dark discoloration. New oil should be clear. If the oil looks contaminated, plan a flush before installation.
Many units have a fill plug and a drain plug. Ensure both are present and undamaged. A missing plug during shipping is common. If a plug is missing, do not install the unit. Replace it with a matching thread and gasket.
Seals and gasket inspection
Lubrication leaks rarely start at the gear. They start at the interfaces. Inspect every gasket, O-ring, and seal face.
Look for the following:
- Dry seals: Seals that sit dry for long periods can harden. This is common on units that sit in storage.
- Debris on faces: Dust or dirt trapped under a gasket prevents a proper seal.
- Cracked O-rings: Check the diameter. A crushed O-ring will not seal under pressure.
- Missing spacers: Some flange connections use shims. If they are missing, the gap will leak.
If a gasket was replaced during shipping, verify the thread on the mating surface. Cross-threading a flange bolt can crack the housing.
Lubrication method confirmation
Not all gearboxes use the same lubrication strategy. Confirm the method matches the unit design.
| Lubrication Method | Key Components to Verify | Common Failure Point |
|---|---|---|
| Gravity (Sump) | Sight glass, fill plug, drain plug | Low level or blocked drain |
| Forced Circulation | Pump, filter, reservoir, pressure switch | Clogged filter or failed pump |
| Oil Mist | Atomizer, nozzle, tank, fan | Nozzle clog or tank low |
| Grease | Grease nipples, housing | Blocked nipple or dry bearing |
For forced circulation systems, check the reservoir level. The pump must be flooded to avoid cavitation. For oil mist systems, verify the atomizer is not clogged with old oil. Grease units are simpler but easy to overlook. If a gearbox uses grease, do not overfill it. Overfilling can force grease out of the vents and contaminate the surrounding area.
Connection points and plumbing
If the lubrication system has external connections, inspect them carefully. This includes oil coolers, reservoirs, and return lines.
- Hose condition: Look for kinks, bulges, or cut insulation.
- Fittings: Check for stripped threads. A fitting that does not thread fully will leak at the joint.
- Clamps: Hose clamps should be tight but not crushing the hose.
- Return lines: These often have filters. Verify the filter is not clogged. A clogged return line creates back pressure and forces oil out of the fill port.
If the unit connects to a central lubrication system, verify the shutoff valve is closed. You do not want the central system pressurizing a dry or low-level unit during startup.
Vents and pressure relief
A sealed gearbox will fail. Air must be able to enter and exit as the oil expands and contracts.
Check the vent caps. They are often small, black, and easy to miss. Ensure they are not blocked by paint, dust, or debris. A blocked vent creates vacuum inside the housing when the oil level drops. This can pull oil out of the seals.
Check the pressure relief valve, if equipped. Some high-pressure lubrication systems have a relief valve set at a specific pressure. If the valve is stuck closed, the system can rupture a weak point. If the valve is stuck open, the system will never build pressure.
Documentation and baseline recording
Before the unit is mounted and connected, record the initial state. This becomes your baseline for future gearbox maintenance.
Create a simple log entry:
- Oil grade and viscosity.
- Oil level at fill plug.
- Date of last fill.
- Condition of seals and gaskets.
- Any repairs or replacements made.
If the unit arrives with a specific oil batch number, record it. This helps if a leak appears later. You can trace the leak to the wrong grade or a contamination issue.
Final walk-around
Walk the unit one last time. Look for:
- Oil on the floor: Even a small puddle suggests a leak during shipping.
- Dust accumulation: Dust on the fill plug indicates the plug was not torqued properly.
- Loose bolts: Check the frame and housing bolts.
- Label visibility: Ensure the nameplate and lubrication instructions are visible.
If anything looks wrong, stop. Do not mount the unit. Fix the issue now. It is much easier to replace a seal on the floor than to open the housing after it is bolted to the frame.
Red flags that stop installation
Some issues are not just “check items.” They are stop conditions.
- Missing fill or drain plug: Do not install.
- Visible oil leak: Do not install.
- Cracked housing: Do not install.
- Wrong oil grade: Do not install.
- Blocked vent: Do not install.
- Damaged seal: Do not install.
These issues are cheap to fix now and expensive to fix later. A small leak can ruin a painted floor. A dry start can damage gear teeth.
Conclusion
Pre-installation lubrication is a short process. It takes time, but it saves hours of troubleshooting later. Verify the fluid, check the seals, confirm the method, and record the baseline. If the unit passes these checks, it is ready for mounting. If it fails, fix it before you lift it.
This checklist is a starting point. Adjust it to your specific unit. Some gearboxes have unique features. Read the manufacturer manual. Use this list as a framework, not a rigid script. The goal is a leak-free, properly lubricated unit. That is the only goal that matters.
Frequently asked questions
What is the best way to check the oil level in a gearbox?
Use the sight glass or dipstick provided by the manufacturer. If neither is present, check the fill plug height. The oil should be at the bottom of the fill plug thread.
Can I install a gearbox with a low oil level and fill it later?
No. Low oil causes dry running. It will damage gears and bearings. Fill the unit to the correct level before mounting.
How often should I check the lubrication system after installation?
Check the level and condition during the first few shifts. Then follow the manufacturer maintenance schedule. Usually, this is weekly or monthly depending on duty cycle.
What should I do if the oil looks dark?
Dark oil usually indicates contamination or age. If the unit is new, it may be dirty from shipping. Flush and replace the oil before commissioning.
Is it okay to use any oil in a gearbox?
No. Use the grade and type specified by the manufacturer. The wrong oil can cause seal damage or poor film strength.