How to Check Gearbox Oil Level and Condition
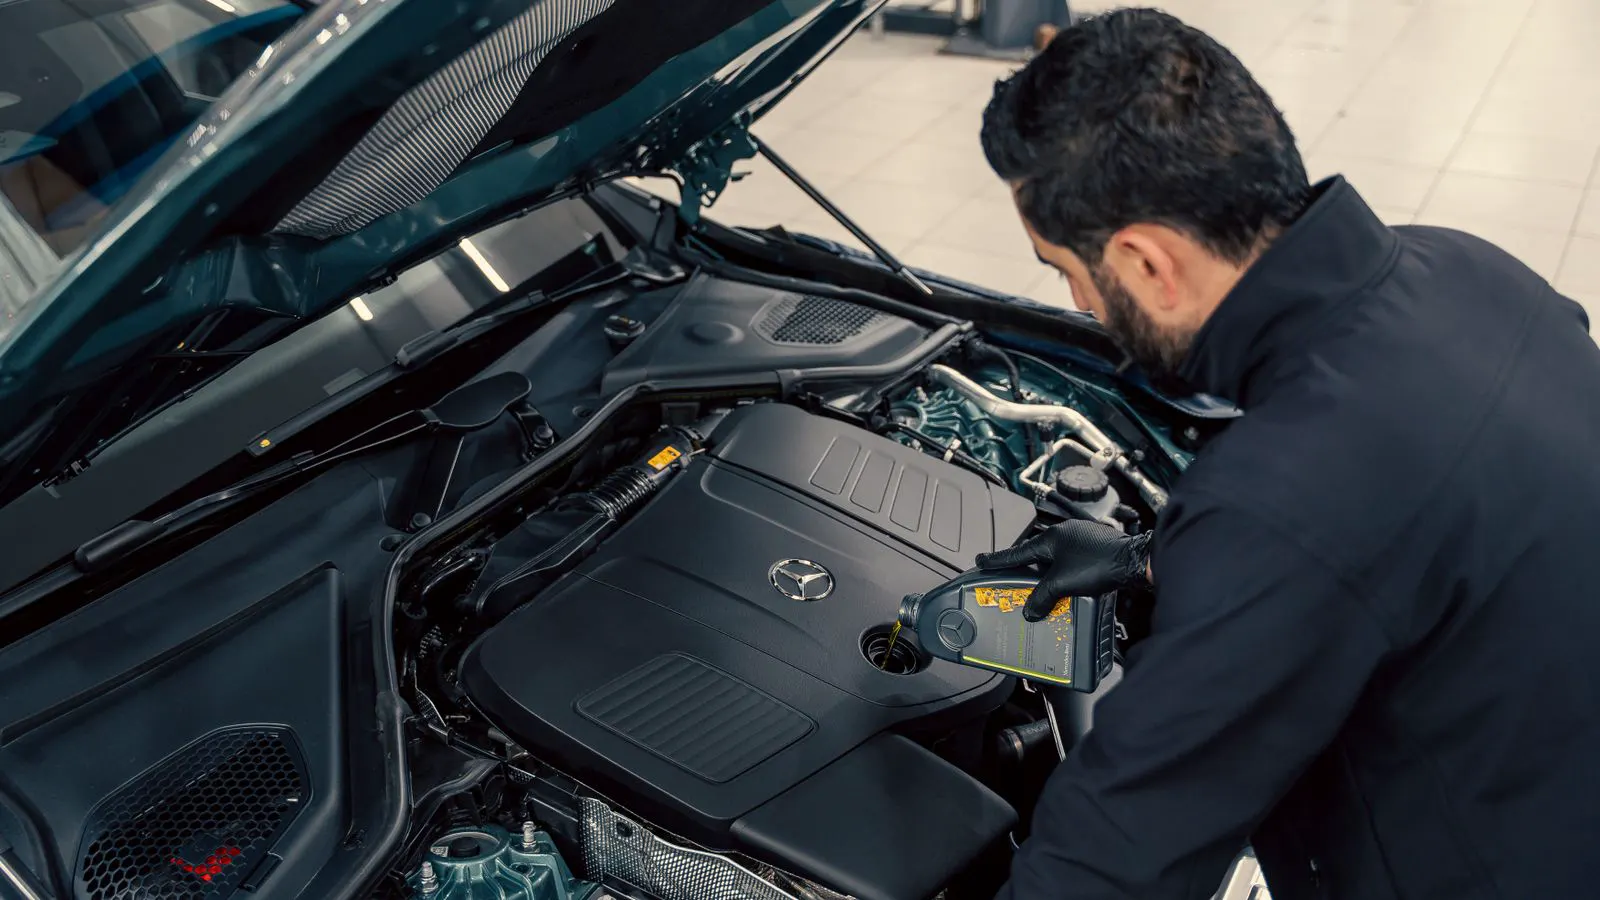
To check gearbox oil, verify the quantity against the gauge or fill point, inspect the sample for color, odor, metal particles, and water, and compare findings to your equipment manual. This process identifies dilution, contamination, and wear before failure occurs.
- Always check oil with the unit at operating temperature or after a defined cool-down period for accurate readings.
- Inspect the oil for water, metal shavings, and color changes to identify contamination and internal wear.
- Keep a log of every check to track gradual degradation over time.
- Replace seals or caps if you find external leaks or air ingress.
Why Check the Oil Level and Condition
Gearbox oil is not just a lubricant; it is the medium that carries heat, suspends wear particles, and protects metal surfaces. A low oil level causes friction heating, while a contaminated sample indicates seal failure, external debris, or internal gear damage.
Regular checks take ten to fifteen minutes. They prevent catastrophic failures and help you distinguish between routine wear and an immediate mechanical problem. You need a basic set of tools and access to the equipment manual.
Prerequisites Before Starting
Before you open the gearbox, confirm the safety status. Lock out the power source and apply a tag so nobody can restart the drive. Let the unit run at normal load for a short period if the oil is cold, then allow it to cool to the temperature specified in the manual.
Most industrial reducers call for checking oil while warm. Checking cold oil often leads to overfilling because the fluid contracts. Check the manual first. If it specifies ambient conditions, wait for the unit to reach ambient temperature.
You will need:
- A clean wipe cloth
- A plastic or metal sample cup
- A small flashlight
- A notebook or tablet for logging
- A safety glasses and nitrile gloves
Check the fill plug and sight glass for existing leaks. If the area is dirty, wipe it clean first. Oil splatter on the plug can hide a slow seep, and a dirty sight glass makes the level line hard to read.
Step 1: Locate the Sight Glass or Oil Level Gauge
Most box reducers have a plastic sight glass on the housing side or end face. Some smaller units use a dipstick. Larger planetary reducers may use a level gauge with a scale.
Find the correct point. The sight glass usually sits near the fill plug or on the lower half of the housing. The oil level should be visible between the min and max marks.
If there is no sight glass, locate the fill plug. It is usually on the top of the housing or on the side, depending on the manufacturer. The dipstick, if present, will be a short metal rod with a plastic handle.
Step 2: Clean the Inspection Area
Wipe the sight glass housing and the fill plug area with a clean cloth. This step is not optional. Dust and old oil residue create false readings. A thick film of grime can make the oil look darker than it is.
For a dipstick, pull it out and wipe it clean with a cloth. Reinsert it fully until you feel resistance. Then pull it out again. The oil line on the stick shows the level.
If the area is wet with oil, stop. Do not wipe it and continue. A wet area means there is a leak. Fix the seal or gasket before taking a reading. You do not want to mix a leak problem with an oil level problem.
Step 3: Read the Oil Level
Look at the sight glass from a straight angle. Do not tilt your head. The meniscus on the oil surface creates a curve. Read the bottom of the curve.
If the oil is between the marks, the level is acceptable. If it is below the min line, add oil. If it is above the max line, drain oil.
A level that is consistently low without a visible leak suggests a slow seep or a pump issue. A level that is high after a fill usually means you added too much. Overfilling causes churning, heat, and seal failure.
Step 4: Check for Water Contamination
Look at the oil color. Clean oil is usually amber, brown, or dark red, depending on the base stock. Water in the oil changes the appearance. It looks cloudy, milky, or has a white film on the surface.
Water gets in through failed seals, condensation in the air, or a broken breather. If you see milkiness, stop the unit. Run it briefly and check again. If the cloudiness persists, drain the oil and inspect the seals.
You can also use a water tester pen if available. Dip the tip into the oil. The pen changes color if water is present. This is a quick field check, but it is not a substitute for a full analysis.
Step 5: Inspect for Metal Particles and Debris
Pull a small sample of oil into a clean cup. Tilt the cup and look at the bottom. You are looking for metal shavings, fibers, or dirt.
Metal particles are bad. They indicate gear wear. If you see fine, dark metal dust, it is likely normal wear from the bearings or gear teeth. If you see larger flakes or bright silver chips, you have a serious problem. Stop the gearbox and inspect the internal gears.
Debris like sand or dirt suggests the fill cap is not sealing or the breather is clogged. Clean the breather. Replace the gasket on the fill plug if it is worn.
Step 6: Smell the Oil
Pour a drop onto your finger or a white paper towel. Smell it. Good oil smells neutral or slightly petroleum-like.
Bad smells are warning signs. A burning smell means the oil is overheating. It may be oxidized or broken down. A sweet or fruity smell can indicate coolant mixing with the oil, which means a seal failure.
If the oil smells like burnt plastic, check the housing temperature. If it feels too hot to touch, the lubrication is failing.
Step 7: Check the Oil Viscosity and Consistency
Look at the oil in the cup. It should flow smoothly. It should not be too thin or too thick.
If the oil is thin and watery, it may be diluted with fuel or another fluid. This often happens in hydraulic gearboxes if the piston seal fails. If the oil is thick and sticky, it may be contaminated with dirt or degraded.
Compare the consistency to the manual. If the manual specifies a viscosity grade, check the label on the oil container. Do not mix different grades. It can change the protective film on the gear teeth.
Step 8: Log the Findings
Write down the date, the oil level reading, the color, any particles, and the smell. This log is your history.
If the oil color changes from amber to dark brown over six months, that is normal oxidation. If it changes to black or milky, that is a problem.
Keep the log with the maintenance records. It helps you predict when to change the oil and when to inspect the seals.
Step 9: Final Verification and Action
After your inspection, wipe the sight glass one more time. Put the fill plug back. Check for leaks.
If the level was low, add oil to the correct level. If the oil was contaminated, drain and replace it. If you found metal particles, schedule a mechanical inspection.
Do not just wipe the glass and walk away. The goal is to catch the problem before it becomes an expensive repair.
Common Mistakes to Avoid
- Checking cold oil. Cold oil contracts. You will think you need more oil. Let it warm up or follow the manual.
- Ignoring the breather. A clogged breather creates vacuum. It pulls oil out of the seals. Clean it regularly.
- Mixing oil types. Different additives cancel each other out. Use the type recommended by the manufacturer.
- Skipping the log. One bad reading is not a trend. A log shows the trend.
- Assuming leaks are normal. A small seep today becomes a puddle tomorrow. Fix it.
When to Call a Technician
If you find large metal chips, a burning smell, or a sudden drop in oil level, stop the unit. Call a technician.
If the oil is milky, it has coolant in it. That is a seal failure. If the oil is black and gritty, the gears are wearing.
These are not problems you can fix with a new oil. They require internal inspection.
Oil Condition Table
| Condition | Appearance | Possible Cause | Action |
|---|---|---|---|
| Normal | Clear, amber or brown | Good lubrication | Continue routine checks |
| Low Level | Below min line | Leak or overfill error | Add oil, check seals |
| Water Contamination | Milky, cloudy | Seal failure or condensation | Drain, replace oil, fix seals |
| Metal Particles | Dark dust or flakes | Gear or bearing wear | Inspect internal gears |
| Overheated | Burning smell, dark color | Overload or low viscosity | Check load, change oil |
| Diluted | Thin, watery texture | Fuel or coolant mixing | Check piston seals |
Frequently asked questions
How often should I check the gearbox oil?
Check the level monthly and inspect the condition quarterly. Increase the frequency if the unit runs in a dusty environment or has a history of leaks.
Can I check the oil while the gearbox is running?
No. Lock out the power first. Running oil can splash and cause burns. It also makes the level hard to read accurately.
What if the oil is too dark?
Dark oil is usually old and oxidized. If it is still smooth and has no particles, it may be okay. If it is gritty or smells burnt, change it.
Do I need to check the oil if I just changed it?
Yes. Check the level 24 hours after a change. Overfilling is common. You may need to drain a little.
How do I know if the oil is too thick?
If it does not flow smoothly from the sample cup or feels sticky on your finger, it is likely degraded or contaminated with dirt. Change it.