How to Fill Gearbox Oil Without Air Bubbles
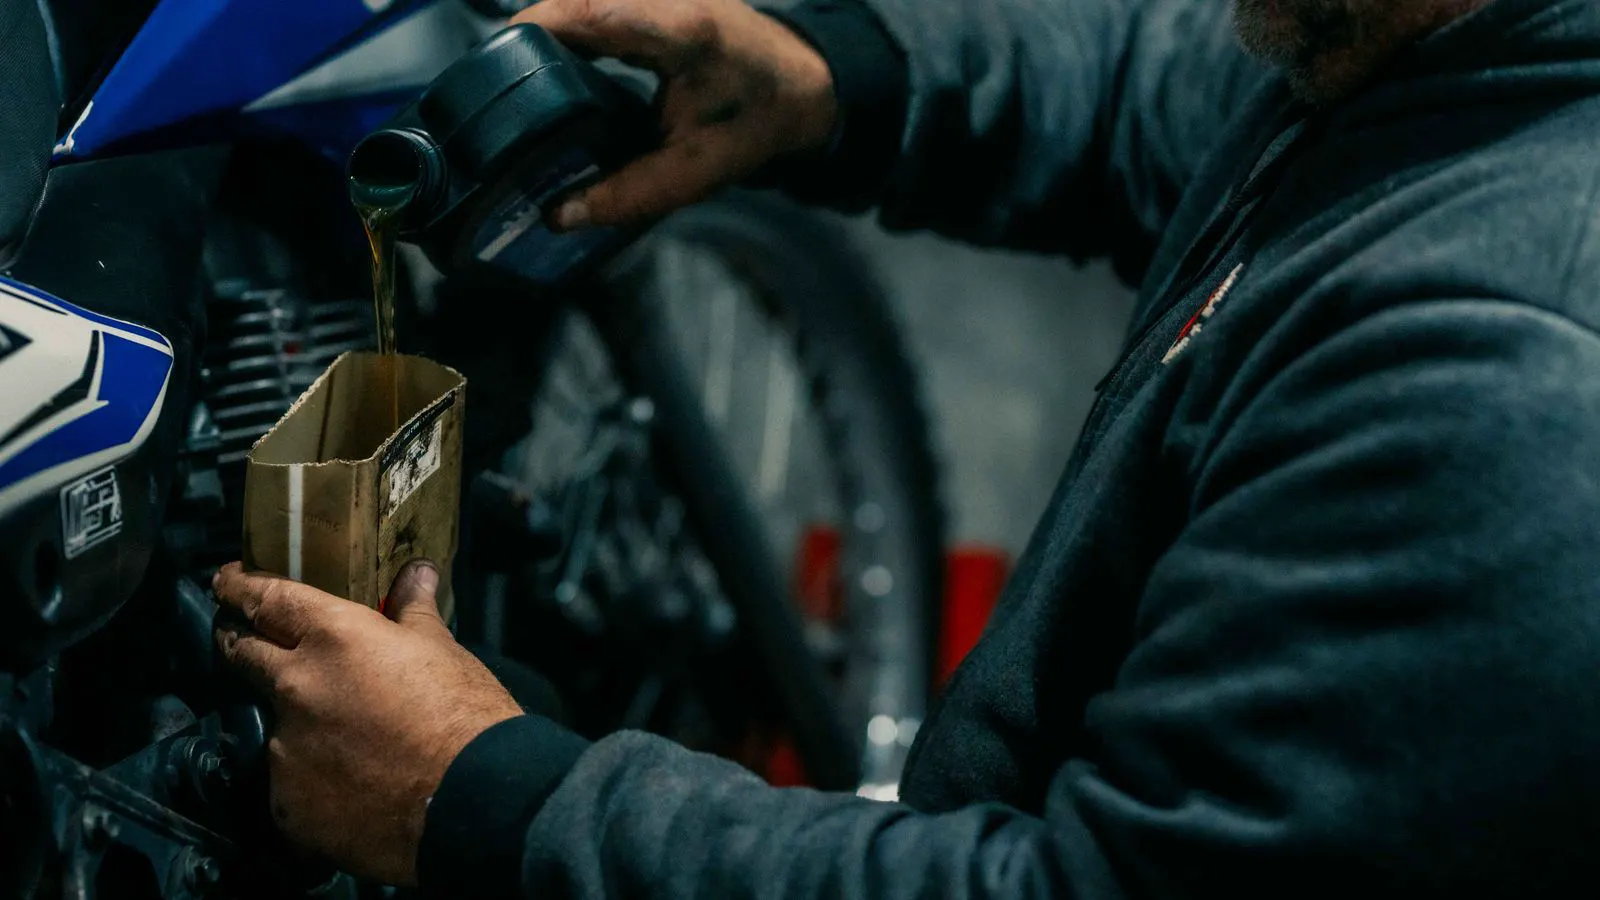
Proper gearbox oil filling requires a slow, controlled pour with the filler port open to release trapped air. Maintaining the correct oil level prevents starvation and seal damage. Using the right lubrication method and verifying the final level ensures long service life and quiet operation.
- Pour oil slowly into the open filler port to allow air to escape.
- Check the oil level with the machine in a level position.
- Use the correct oil grade and lubrication method for the specific gearbox.
- Verify the final level and inspect for leaks before operation.
Why Air Bubbles Damage Gearboxes
Air in the oil system creates cavitation. When the oil pressure drops or the fluid velocity increases, dissolved gases expand into visible pockets. As the oil returns to higher pressure zones, these pockets collapse. The collapse creates micro-craters on gear teeth, bearing races, and housing walls. These surface defects act as stress concentrators, accelerating fatigue failure and pitting. The same bubbles can block narrow oil passages, leaving critical contact points starved during high-load shifts.
A dry or partially filled gearbox causes immediate damage. The initial seconds of operation rely on the oil film to separate metal surfaces. Without a stable film, metal-to-metal contact occurs, scoring the gears. This damage is often irreversible. In splash lubricated units, the gears must be fully submerged at the lowest point of their rotation. If the level is even a few millimeters low, the tooth flanks may scrape the oil surface instead of the oil bath. This creates a high-friction dry patch that generates heat and wear.
Prerequisites Before Filling
Prepare the machine and the oil before starting the work. The gearbox housing should be at ambient temperature. Hot housings expand, changing the internal volume and the final oil level. Cold housings contract, leading to overfilling if not corrected. If the unit is operating, allow it to cool down for at least an hour before opening the housing. This stabilizes the oil volume and prevents thermal shock to the oil seals.
Clean the filler port and the oil drain area. Dust and grit entering the port mix with the oil and act as abrasives. Wipe the surrounding area with a clean lint-free cloth. Use a dedicated brush to remove debris from the threads of the filler plug. Check the oil grade specification in the equipment manual. Use the grade specified for the operating temperature and load. Do not mix different grades without confirmation from the manufacturer. Mixing oils with incompatible additive packages can cause sludge formation and reduced lubricity.
Gather the necessary tools. A clean measuring cup, a funnel with a strainer, a level bubble, and a clean rag are standard. A dipstick or sight glass is required if the gearbox has one. If the unit lacks a level indicator, you must use the manufacturer’s fill and drain plug positions as reference points. Ensure the oil container is sealed. Opening a can of oil exposes the surface to air and moisture. Use a dedicated pour spout if possible to prevent droplets from falling into the port.
Step-by-Step Gearbox Oil Filling Procedure
Follow this sequence to minimize air entrapment. The goal is to fill the system slowly and allow air to escape naturally.
- Position the gearbox level. Place the machine on a flat surface. Use a spirit level to confirm the housing is horizontal. This ensures the oil level is accurate. If the machine is installed in a fixed position, use a magnetic level or a digital inclinometer to verify the alignment.
- Remove the filler plug or cap. If the filler port is low, you may need to tilt the housing slightly to drain trapped air from the highest point. Do not tilt if the design requires a specific level orientation. For multi-stage gearboxes, identify the highest filler point to ensure air escapes from all cavities.
- Pour the first portion of oil. Use a clean funnel to direct the oil into the port. Pour slowly. Do not dump the entire volume at once. The slow flow gives air time to rise and exit. Aim the stream directly into the center of the opening to reduce splashing.
- Stop pouring and let the oil settle. Wait a few minutes. The oil will fill the lower cavities and push air toward the top. The surface will become still. If the oil level is visible, watch for bubbles on the surface.
- Check the oil level. If there is a sight glass, look for the oil meniscus. If there is a dipstick, pull it, wipe it clean, insert it, and check the mark. If there is no indicator, check the oil at the fill plug. Remove the plug carefully and look for oil at the bottom of the threads.
- Top up the oil. If the level is low, pour a small amount. Repeat the settle and check process. This gradual filling prevents air from being trapped deep in the housing. Continue until the level reaches the specified mark.
- Install the filler plug securely. Hand-tighten the plug or cap. Do not over-torque. A cross-threaded plug will leak. If there is an oil breather cap, install it as well. Ensure the breather filter is clean and unobstructed.
- Run the gearbox briefly. Start the drive at a low speed. Let it run for a few minutes. This circulates the oil and reveals any remaining air pockets. Listen for a hissing or whistling noise, which indicates air being pulled into the system.
- Re-check the level. Stop the machine. Let it sit for a short period. Check the level again. The level may change slightly as the oil warms and settles. Adjust if necessary.
Common Mistakes to Avoid
Overfilling is a frequent error. Excess oil causes foaming under load. The oil churns, entraining air and creating a slurry that does not lubricate effectively. It can also blow oil out of the breather, causing a mess and potential fire risk. In high-speed applications, the rotor effect can turn the oil into a froth, reducing its ability to carry heat away.
Using the wrong oil grade is another issue. Thinner oils may not form a protective film under heavy loads. Heavier oils may not flow in cold conditions. The wrong grade leads to increased friction and wear. An oil that is too thin will shear down rapidly in high-shear areas, losing its viscosity. An oil that is too thick will pump slowly, delaying lubrication at startup.
Pouring oil too fast traps air. The oil pushes down and seals the air pockets before they can escape. The result is a gearbox that runs noisy and hot. Always pour slowly. If you see air bubbles in the sight glass, stop and wait. Do not pour more oil until the bubbles dissipate.
Ignoring the machine position is a critical mistake. If the machine is tilted, the oil level in the sight glass will be false. The gearbox may appear full when it is actually low. Always check the level on a level surface. If the machine is installed on a slope, use the manufacturer’s specific level reference points, which are often located at different heights on the housing.
Lubrication Method and Oil Selection
The lubrication method depends on the gearbox design. Some units use splash lubrication, where gears dip into an oil bath. Others use forced lubrication, where a pump circulates oil to specific points. Oil filling for splash systems requires the correct level in the sump. Forced lubrication systems may have separate oil reservoirs for the pump and the gear case. Check the manual to identify the correct fill points. Some forced lubrication systems have a filter housing that must also be filled or primed before operation.
Selecting the right oil grade is part of the filling process. The oil must match the viscosity index and additive package required by the manufacturer. EP additive technology is critical for high-load gears. It prevents metal-to-metal contact under extreme pressure. Do not use generic oils unless they meet the specific technical data sheet. EP additives form a protective film on the tooth flanks when the hydrodynamic film breaks down. Without this film, the gears will pit and wear quickly.
Final Verification and Documentation
After filling, verify the system. Look for leaks around the fill plug, drain plug, and breather. A drip on the housing indicates a loose fitting. Tighten the fitting. Do not use thread sealant unless the manual permits it. Sealants can contaminate the oil circuit and clog filters.
Record the work. Note the date, the oil grade, the quantity added, and the operator name. This data supports maintenance planning and helps diagnose future issues. If the gearbox required oil, note the reason. Low level can indicate a slow leak. A record of oil consumption helps identify the rate of loss, which is key to predicting seal replacement intervals.
Run the gearbox under normal conditions for a short period. Listen for unusual noise. Check the temperature. If the noise persists or the temperature rises, the oil level may be incorrect, or there may be an internal fault. Use an infrared thermometer to measure the temperature of the gear case. A sudden spike in temperature indicates friction or air cavitation.
When to Recheck the Oil Level
Regular maintenance is part of the filling process. Check the oil level during routine inspections. Look for signs of contamination. Water in the oil appears as a milky color. Dark oil indicates oxidation or debris. A milky appearance usually happens after the gearbox has been running in a humid environment or after a washdown.
If the gearbox makes noise after lubrication, recheck the level. Noise can be caused by air entrainment. It can also be caused by the wrong oil grade. Refer to the noise troubleshooting guide for specific symptoms. A whining noise often points to low oil or air. A grinding noise suggests bearing failure or severe wear.
If the oil level drops frequently, investigate the cause. Check for leaks at the seals and gaskets. A leaking seal allows air to enter and oil to escape. This cycle reduces the level and causes damage. Inspect the shaft seals for cracks or hardening. Replace seals that show signs of deterioration.
Oil Level and Condition Checks
How to check gearbox oil level and condition is a standard part of maintenance. Use the correct method for the specific gearbox. Sight glasses are common. Dipsticks are used in larger units. Some units use oil level indicators that are integrated into the housing. Always clean the sight glass before checking. Oil residue on the glass can obscure the level mark.
Inspect the oil condition. Look for color changes. Smell the oil. Burnt oil indicates overheating. Milky oil indicates water contamination. Particles in the oil indicate wear. These signs require action. Do not just top up the oil. Find the root cause. If the oil is dark and smells burnt, check the cooling system. If the oil is milky, check for water ingress. If the oil contains metal particles, inspect the bearings and gears for damage.
Conclusion
Proper gearbox oil filling is a simple task when done correctly. It requires preparation, a slow pour, and careful level checks. Avoiding air bubbles prevents cavitation and wear. Using the correct oil grade and lubrication method ensures the gears and bearings are protected.
Regular checks and documentation support long service life. If the gearbox noise or temperature changes after lubrication, recheck the level and the oil condition. A well-lubricated gearbox runs quietly and lasts longer.
Frequently asked questions
How do I know if my gearbox has air bubbles?
Listen for a gurgling or hissing noise during operation. Check the oil level frequently. If the level drops without a visible leak, air may be entrained in the oil.
Can I overfill a gearbox?
Yes. Overfilling causes oil to foam and blow past the breather. It also increases friction. Always check the level with the machine level and top up slowly.
What is the best time to check the oil level?
Check the level when the machine is in a level position. Check it after the machine has been running for a short period. The oil level changes as the oil warms and settles.
Do I need to drain the oil before refilling?
Not always. If the oil is clean and within the correct level, you can top up. If the oil is contaminated or the level is very low, drain and refill with the correct grade.
How often should I check the oil level?
Check the level during routine maintenance. Check it more frequently if the gearbox operates under high loads or in harsh environments.