Why Is My Gearbox Making Noise After Lubrication?
A newly lubricated gearbox makes noise when the wrong oil grade is used, air has entered the system, or mechanical faults were masked before service. Check the oil level, verify viscosity against operating conditions, and inspect bearings and shafts to isolate the source of vibration.
- Verify the oil viscosity matches the manufacturer's data sheet for your specific ambient and load conditions.
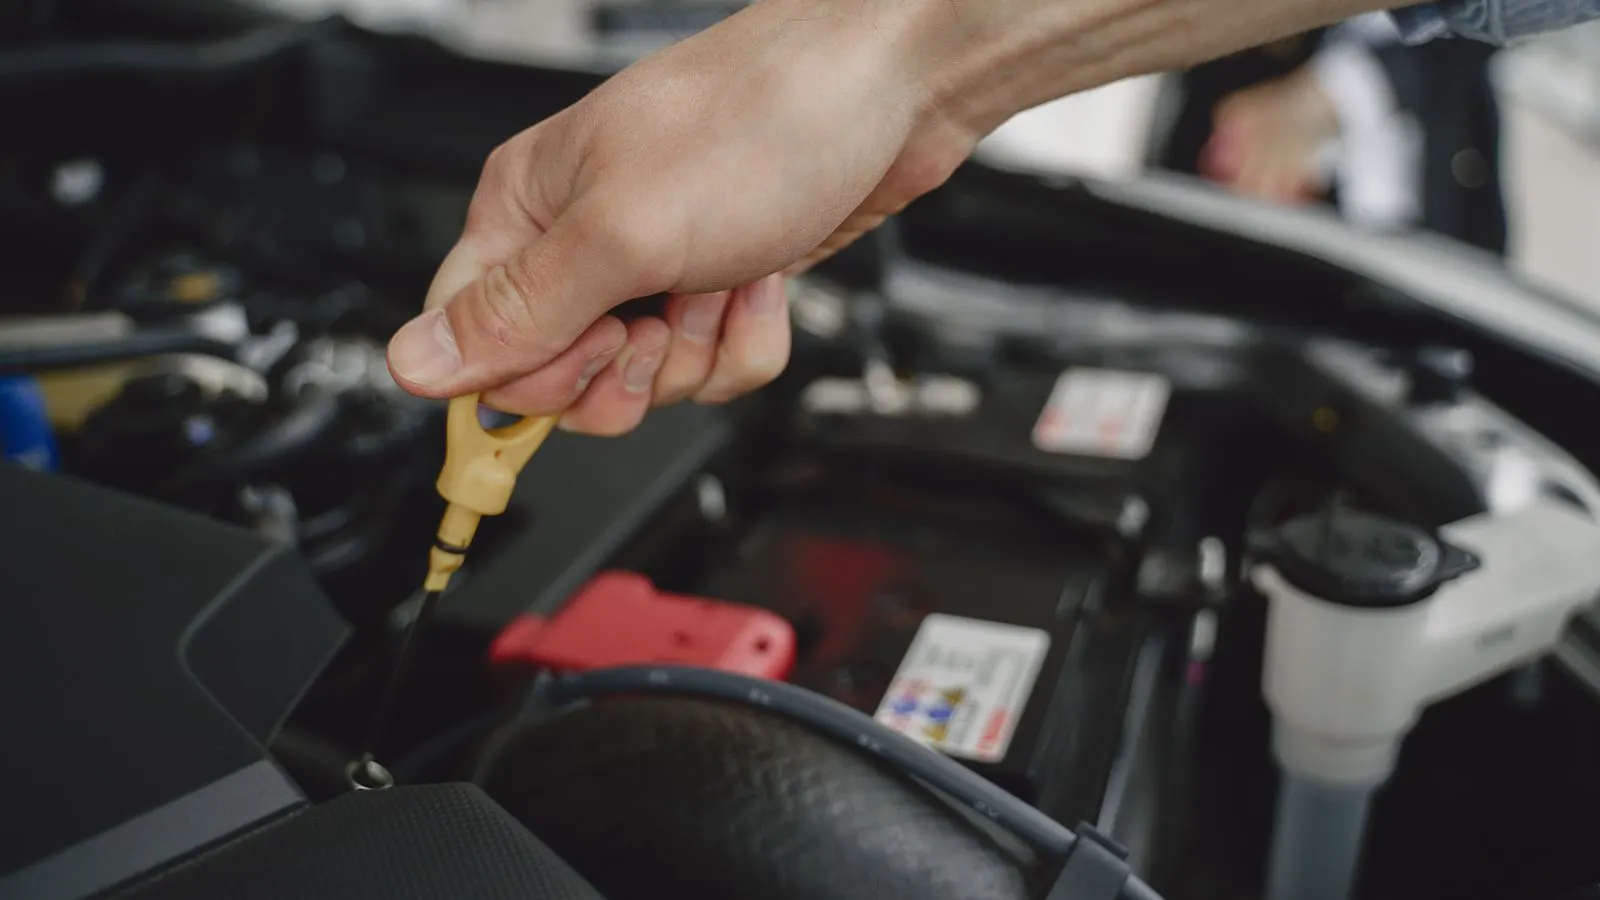
- Check the fill level immediately after service to ensure no air has been introduced into the system.
- Inspect bearings and shafts, as mechanical wear often becomes audible only when friction changes.
- Use the correct seal type to prevent dirt and moisture from entering during the service interval.
- Log all oil changes and symptoms to identify patterns before the next service event.
A freshly serviced gearbox should run quieter than the unit before maintenance. When the noise returns or increases, the issue is rarely the new oil itself. It is usually a mismatch between the lubricant and the operating environment, or a mechanical defect that was previously masked by degraded oil.
This guide covers the most common reasons for noise after lubrication. It focuses on practical checks that a maintenance technician or plant engineer can perform on the floor. The goal is to stop the machine, identify the cause, and apply a fix that prevents the noise from returning.
Check the oil viscosity first
The most frequent error after a service is selecting a lubricant based on habit rather than data. Many operators default to a standard medium-grade oil because it is the most common in the warehouse. This works for light loads at moderate temperatures. It fails under heavy shock loading or in very cold storage environments.
If the oil is too thin, the fluid film between the gears and bearings becomes too weak. Metal surfaces contact each other during load peaks. The result is chattering, whining, or a gritty grinding sound. If the oil is too thick, it does not flow quickly to the contact points during startup. The gears operate in a dry state for the first few seconds, causing impact noise and heat.
Refer to the nameplate or the original technical data sheet. It lists a specific viscosity grade, often indicated by ISO VG numbers. If the machine has changed duty cycles, or if the ambient temperature has shifted from the original design assumption, the standard grade may no longer fit. A heavier grade may be needed for low-temperature environments to prevent cold startup damage. A lighter grade may be needed for high-temperature enclosed spaces to prevent oil shear and clogging of the ventilation paths.
Viscosity is not a static property. It changes with temperature. An oil rated for 40 degrees Celsius will behave very differently at minus ten degrees. If your plant operates in a seasonal climate, a single oil grade may not cover the full range of startup conditions. Consider the worst-case scenario. If the unit sits idle in winter, the oil must be fluid enough to reach the bearings within seconds of the motor starting. If the unit runs continuously in a hot warehouse, the oil must maintain its film strength at elevated temperatures to prevent metal-to-metal contact.
Check the oil temperature at the bearing housing during operation. Use an infrared thermometer or a contact sensor. Compare the reading to the expected range for that specific load. If the temperature is running high, the oil may be shearing. If it is running low, the oil may be too thick to circulate efficiently, or the cooling system may be inadequate. Adjust the viscosity grade based on these measured conditions, not just the ambient air temperature.
Air ingestion and foaming
A gearbox that roars, hisses, or makes a hollow thumping sound after service often has air in the oil. Air is highly compressible. When it mixes with the liquid lubricant, it creates foam. Foam reduces the oil’s ability to carry heat away and to form a continuous protective film.
This usually happens if the fill level was not set correctly. Overfilling forces oil out of the vents, creating a vortex that pulls air back in during rotation. Underfilling leaves the gears partially dry. Both conditions introduce air.
Check the sight glass or the oil level gauge immediately after the unit reaches operating temperature. The level should be within the marked window. If the level is too high, drain the excess. If it is too low, add the correct oil slowly. Ensure the vent filter is clean and unobstructed. A blocked vent restricts oil expansion and creates pressure that forces oil out of the seal, creating a vacuum that sucks air in through the intake.
Foaming is particularly dangerous because it hides the true oil level. A sight glass may show a level that appears normal, but the oil may be aerated. The bubbles expand as the oil heats up and rotate with the gears. This creates a sludge of oil and air that cannot lubricate properly. The noise from foaming is often intermittent, appearing as a gurgling or bubbling sound that changes with speed.
Inspect the vent line. If the gearbox is located in a dusty area, the vent may be clogged with dust. If it is in a wet area, water droplets may be trapped in the vent filter. Clean the vent filter during every service. Replace it if the mesh is damaged or saturated. A clean vent allows the oil to expand and contract freely without creating pressure differentials that pull air into the housing.
Mechanical faults become audible after oil change
Before the service, the old oil may have been thick, dirty, or broken down. It could have filled gaps in worn gears and masked the sound of damaged bearings. The new, clean oil flows easily. It no longer cushions the impact of a cracked tooth or a loose shaft.
The noise is real, but it is not caused by the lubricant. It is caused by the metal.
Listen to the frequency of the sound. A high-pitched whine often points to bearing wear. A rhythmic knocking or thumping usually indicates a gear tooth defect or a loose mounting. A grinding noise suggests metal-to-metal contact due to insufficient film thickness or damaged surfaces.
Perform a basic gearbox inspection. With the power off and the unit secured, rotate the output shaft by hand. It should move smoothly. Listen for clicks or rough spots. Check the mounting bolts for tightness. Vibration from a loose base amplifies internal noise. Tighten the anchors to the specified torque. If the shaft feels rough or the play is excessive, the internal components likely need replacement, not just a fresh oil fill.
Pay attention to the direction of rotation. Some faults only appear when the gear rotates in one direction due to asymmetrical wear or a bent shaft. Rotate the output shaft both clockwise and counter-clockwise if the machine design allows it. If the noise is present in both directions, the fault is likely in the bearings or the gear teeth themselves. If it is only in one direction, check for shaft misalignment or a bent shaft.
Measure the backlash. Backlash is the play in the mesh between the gears. Excessive backlash indicates wear. If the backlash is too low, the gears may be binding. Both conditions generate noise. Use a dial indicator or a feeler gauge to measure the backlash at the input and output shafts. Compare the values to the manufacturer’s specifications. If the backlash is out of tolerance, the gears need to be replaced or adjusted.
Seal and housing integrity
Noise can also come from outside the gears. If the housing is cracked, or if the shaft seal is worn, debris enters the lubrication chamber. Gravel, dust, or metal shavings act as abrasives. They scratch the gear teeth and bore surfaces. This creates a rough surface that generates vibration and noise.
Inspect the oil for contamination. If the oil is gritty, the filter is clogged, or the oil has a metallic smell, there is internal damage or external intrusion. Check the shaft seals. If the seal is leaking oil, it is likely also letting air or dirt in. Replace the seal during the service. Do not reuse a worn lip.
Also check the drain plug and the filler cap. If the drain plug is not fully tightened, or if the cap gasket is compressed, small amounts of air and dirt can enter. These leaks are small, but they accumulate over time.
Cracks in the housing are often caused by thermal shock or vibration. A sudden temperature change can cause the metal to contract and expand at different rates. Repeated vibration from an unbalanced shaft can fatigue the casting. Inspect the housing for hairline cracks, especially around the mounting feet and the shaft bores. If a crack is found, the housing must be repaired or replaced. A cracked housing will continue to leak air and oil, leading to further contamination and noise.
Check the drain plug threads. If the threads are stripped, the plug will not seal properly. This allows air to enter the housing. If the threads are damaged, replace the plug with a new one that has a fresh gasket. Do not use thread sealant on the drain plug unless the manufacturer specifies it. Sealant can flake off into the oil and clog the filter.
Lubricant selection for specific conditions
Choosing the right oil is not a one-size-fits-all task. Consider the operating environment.
- Temperature: Cold environments require thicker oils to ensure viscosity at startup. Hot environments require thinner oils to ensure flow and heat dissipation.
- Load: Heavy shock loads require oils with high extreme pressure additives. These additives form a protective boundary layer at high contact points.
- Speed: High-speed applications require oils with lower viscosity to reduce friction and heat generation.
- Environment: If the gearbox is in a dusty or wet area, use an oil with better water resistance and seal protection.
If you are unsure of the correct grade, do not guess. Contact the gearbox manufacturer’s technical support. They have the test data and application history for that specific model.
Temperature is the primary factor in oil selection. An oil that is too thick for the ambient temperature will not circulate properly during the first minutes of operation. This leads to dry start damage. An oil that is too thin for the operating temperature will lose its film strength under load. This leads to metal-to-metal contact. The manufacturer’s data sheet will provide a recommended viscosity range based on the expected ambient and operating temperatures. Use this data as a starting point, but adjust for your specific duty cycle.
Load affects the type of additive package required. Standard oils are designed for steady-state loads. Shock loads require oils with high extreme pressure (EP) additives. These additives form a chemical film at the contact points, preventing metal-to-metal contact during high-pressure peaks. If your application involves frequent starts and stops, or heavy impact loads, you need an EP oil. Do not use a standard oil for this duty.
Speed also matters. High-speed gears generate more friction heat. A lower viscosity oil reduces this friction and allows for better heat dissipation. However, lower viscosity oils have less film strength. This means they are more susceptible to metal-to-metal contact under load. The balance between viscosity and EP additives is critical for high-speed applications.
Prevention of post-service noise
Most noise issues after lubrication are preventable with a strict service procedure.
- Always drain the old oil completely before adding the new. Residual old oil can change the viscosity of the fresh mix.
- Use the correct quantity of oil. Do not overfill.
- Allow the gearbox to run at low speed for a short period after service to circulate the oil and check the level.
- Log the service. Record the oil type, the quantity added, and any noise observed.
- If the noise persists after the oil check, stop the machine. Do not run it to “break it in.” Continued operation with mechanical faults accelerates damage.
A noisy gearbox is a warning signal. It tells you something is wrong. The new oil simply made the problem visible. Address the root cause, not just the symptom.
| Symptom | Likely cause | What to do |
|---|---|---|
| High-pitched whine | Worn bearings or low oil level | Check oil level, listen for bearing roughness, replace bearings if needed. |
| Rhythmic knocking | Cracked gear tooth or loose mounting | Inspect gears, tighten mounting bolts, replace damaged gears. |
| Grinding or harsh noise | Metal-to-metal contact | Stop machine, inspect for wear, replace worn components. |
| Hollow thumping | Air in the oil or foaming | Check fill level, clean vent filter, correct overfill or underfill. |
| Squealing on startup | Oil too thick for cold conditions | Switch to a lower viscosity oil suitable for ambient temperature. |
| Gritty or abrasive noise | Debris in the lubricant | Drain and flush oil, inspect seals for leaks, replace filter. |
Frequently asked questions
Can I fix the noise by adding more oil?
No. Adding more oil can worsen the problem by causing overfilling and air ingestion. Only adjust the level to the correct mark. If the noise persists, the issue is mechanical or related to the wrong oil grade.
How do I know if the oil is the wrong viscosity?
Check the manufacturer's recommendation on the nameplate. If the machine is very loud and hot, the oil may be too thick. If it is very loud and cold, it may be too thin. Consult the technical data sheet for the correct ISO VG grade.
Is it safe to run a noisy gearbox for a short time?
No. If the noise indicates mechanical wear or metal-to-metal contact, running the unit further will cause rapid damage. Stop the machine and inspect it before restarting.
What if the noise only happens at startup?
This is often caused by oil that is too thick for the ambient temperature. The oil does not flow quickly enough to lubricate the gears during the first few seconds of operation. A lighter oil grade may be required.
Do I need to replace the oil if I change it too often?
Changing oil too frequently does not usually cause noise, but it increases cost. However, if the oil is contaminated or the wrong grade is used, frequent changes will not fix the noise. Identify the root cause first.